Track the restoration of a Classic 1963 Volkswagen Bug; for those out there like myself who might be able to learn from my experience.
Saturday, March 21, 2020
Nut, Bolt and Hardware Restoration Continued
I researched general automotive and VW factory nut, bolt and hardware finishes for some time before deciding exactly how I was going to move forward sealing and finishing the hardware. Originally, the VW factory used a caustic soda bath and an oil bath to finish and seal the metal. The soda gave the surface of the hardware a phosphoric black coating and the hot oil would inhibit future rust by filling into the pores of the metal. The hardware would have a black finish with a dull shine. This was cost effective, simple, effective and practical, a prefect fit for a Volkswagen.
In modern times, newer methods of giving metal a phosphoric coating were developed (cold bluing) to accomplish the same thing without the use of boiling tubs of hazardous chemicals. Using a bluing solution and a hot oil bath was how I decided to move forward.
Saturday, March 7, 2020
Seam Sealer, New Parts and Some Reassembly
After sealing and painting the pan, seam sealer was applied to all of the seams, joints and anywhere the metal overlapped where moisture might accumulate. Realized I should have done this before I painted the pan, aaahhh!!! Oh well, better late than never. Researching seam sealers, 3M was the best I could find that would bond specifically with the urethane based chassis coating that I used and was pretty indestructible.
I ordered some parts for the pan from Wolfsbürg West and have started putting the pan back together. Most of these were rubber seals and grommets. I also replaced the brake lines with new.
The shift knob is pretty beat up and will need some love to bring it back. On the hand brake, the top three teeth of the ratcheting gear were broken off, so I repaired them by welding new metal into place where the teeth once were and shaped them into the appropriate "tooth" shape with my Dremel. It turned out great, and it works again!
Brass T fitting and bolt for rear brake lines cleaned, oiled and installed.
Bowden Tube and boots in place.
Gas Line Grommets Installed.
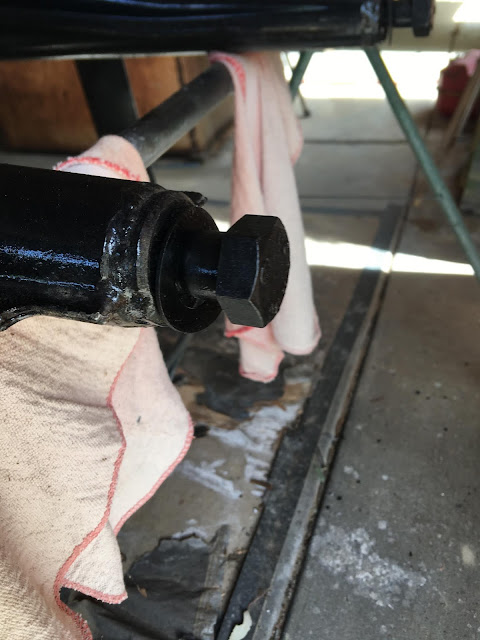
Torsion Arm/Spring Plate Cover bolts cleaned, threads chased and oiled.
The original spring for the shifter was broken, so I welded it back together, it turned out good.
I was able to prep and paint the shifter and e-brake in the original Anthracite color, pretty cool. I also found some interesting stamps on the e-brake handle.


Subscribe to:
Posts (Atom)


