Wednesday, November 3, 2021

Front-End Work and New Equipment!

Over the past few months, I've put in a quite a bit of work and now its time for a catch-up post. Previously, I finished work on sandblasting, sealing and painting the chassis. Restoration of the front and rear end is next.

New Equipment

Engine Stand

To bring the front beam to a workable height, I decided that I would use an engine stand. I was determined to not buy one new, so I was able to acquire one at a scrap yard for $40.


Parts Washer

I was able to repair and upgrade a defunct parts washer we had laying around the shop. I installed a new pump and filter system and it works great.


Media Blasting

Much of the remaining work on the chassis will require a large amount of media blasting, I got a blast cabinet at Harbor Freight on sale and made a few modifications to improve its performance. So far, it has worked out well; although, the trigger on the gun broke. Tried to fix it without much luck. I decided to replace the gun with an Eastwood gun and foot trigger kit. Wow, what a difference! It literally blows the old paint and rust right off. Links to mods.


Front-End Work

The front end axle beam was completely disassembled...

Axle Beam and Brakes

The front axle beam that was on the car had a "EMPI Select-a-Drop" conversion done on it at some point. After reading about them and seeing that most of the feedback was negative on ride quality, I concluded that there are better and more modern options currently available for an adjustable front end. If I was going to replace it, I wanted to do it now, so I decided to upgrade to a modern adjustable beam with "Puma" style adjusters. 

I disassembled, washed and bead blasted the spindles and king pin carriers. All appeared to be in good shape, as they were replaced relatively recently in the car's history. 

After bead blasting, I primed and painted all of the above.

The bushings on the new front end needed to be reamed just slightly. Without a reamer that I did not want to spend the money on, I used a 1.5" dowel and some emery cloth to clear out just a little bit of material so that the trailing arms would not bind.

The torsion springs were removed from the old front end, washed, re-greased and installed. these were also replaced relatively recently and were in good shape.

After painting, the trailing arms were polished, greased and installed.

I polished the link pins and connected the newly cleaned and greased spindles to the new axle beam.

The front brakes will be upgraded to discs. After a few pretty scary close calls trying to stop the car in the past, I knew that this was one upgrade that I definitely wanted to do. The old drum brakes and rotors have been removed. CSP Disc brakes ordered from Germany along with a new larger master cylinder.

New master cylinder installed, brake lines installed.

Out with the old and in with the new...

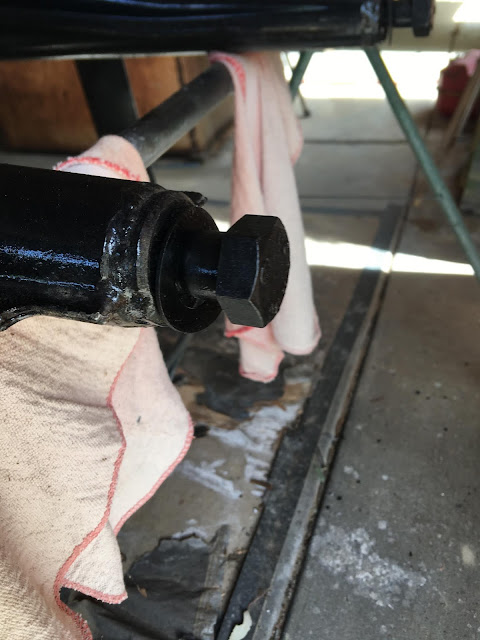
Steering Box and Tie Rods

Steering box - removed, disassembled, washed, blasted, rebuilt and painted. New seals installed. New bearings are hard to come by for this, so I installed new bearing balls, assembled and made adjustments. After some research on suitable oils to use in the box itself, Corn Head Grease appeared to be the best modern alternative, superior to oils used in the past for this purpose. The professionals use it. Its officially for the cutting heads on corn harvesters, but its properties are also perfect for VW steering boxes.


Tie Rods - These were in good shape, but the ends were worn and needed to be replaced. The rods were blasted, primed, painted and the threads were cleaned out. New ends were installed and the steering system is in new condition once again.

Pedal Cluster

Pedal cluster is in overall good shape. I had to drill out the clutch pedal pin in order to disassemble it. The hook at the end of the clutch pedal shaft was warn almost all the way through, so the shaft and hook were replaced.

disassembled, washed, blasted, prepped, primed, painted, greased, reassembled and installed.

Transmission

In 1963, highway speeds were lower, so the stock transmission in my '63 had a relatively low gear ratio that was appropriate for the time. In modern times, this causes to engine to rev pretty high and get pretty loud cruising at modern highway speeds (over 55mph). However, the fact that the car had no sound proofing or carpet installed at the time I was driving it did not help either. 


So, I wanted to upgrade the transmission for a more comfortable driving experience at higher speeds.

I reviewed several gear ratio setups and calculators online to determine what I had in the car before (what I remember driving on the highway), what VWs came with in later years, and what is offered today in rebuilt transmissions for current traffic speeds. 

This brought me to the subject of air cooled engine RPMs and effective cooling. Air cooled VW's were never meant to be effectively cooled at low RPMs as the cooling fan is directly related to engine speed. Higher engine RPM = higher fan speed = better cooling. 

Researching transmission options brought me several ideas. Aside from the high-flying ideas of converting to a Porche or Subaru 5-speed transmission, the two that I considered seriously were the Berg 5-speed kit and a rebuilt freeway flyer with a higher gear ratio. The Berg 5-speed kit was designed for closer gears 1-4 and a 5th gear with a stock 4th gear ratio of .89, originally meant for street racing. This, along with the price tag of  $7,000 for a rebuilt transmission with a Berg 5-speed installed turned me off to the whole idea. 

I determined that a swing axle transmission with a later model year gear ratio would accomplish what I was after. Rancho Transaxles, a reputable and highly rated vendor located in Fullerton, CA, offers a transmission with a ratio the same as the '68 model year and a 3.88 ring and pinion. Reviews on these transaxles are high and people seem to be happy with them.

New rebuilt transmission has been ordered from Rancho Transaxles and will be ready in December 2021.

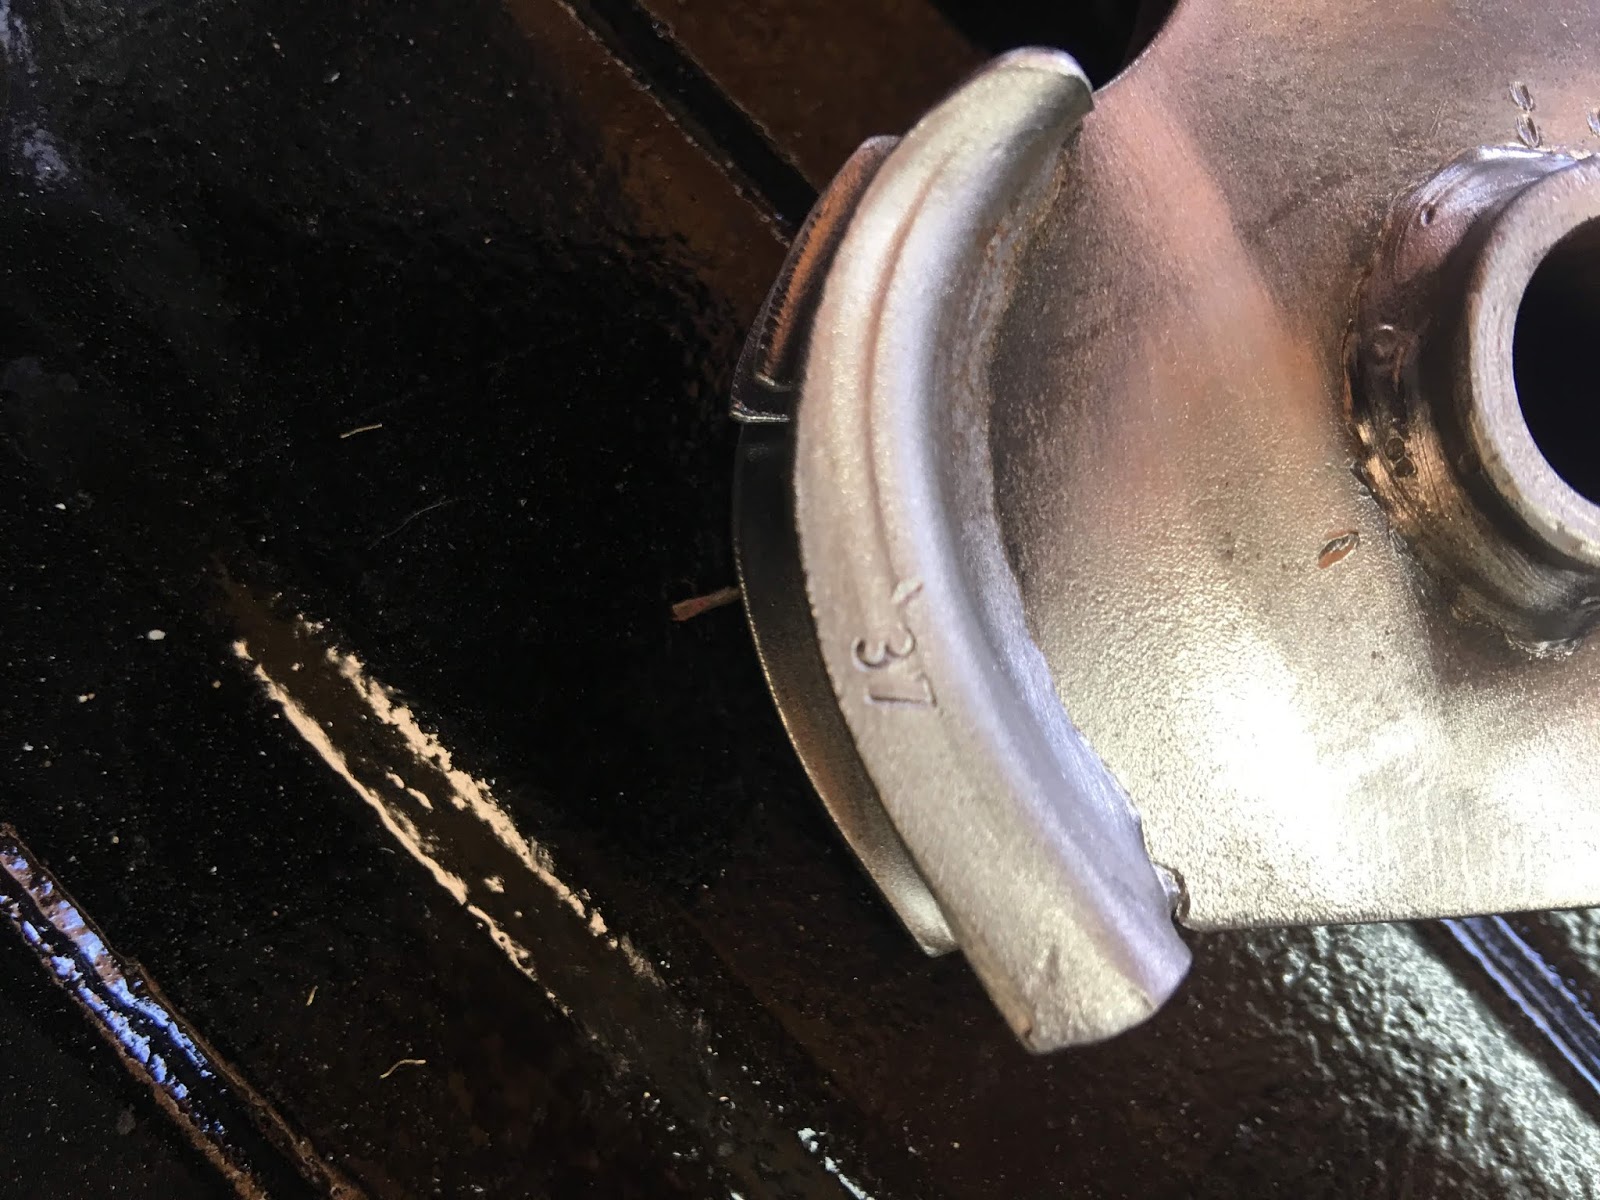
As the new transmission will not come with axles, the original ones will be used. The axles were removed from the original transmission and shrink-wrapped. The axle tubes, drums and backing plates have been washed, bead blasted, sealed and painted.

More to Come!


Saturday, March 21, 2020

Nut, Bolt and Hardware Restoration Continued


I researched general automotive and VW factory nut, bolt and hardware finishes for some time before deciding exactly how I was going to move forward sealing and finishing the hardware. Originally, the VW factory used a caustic soda bath and an oil bath to finish and seal the metal. The soda gave the surface of the hardware a phosphoric black coating and the hot oil would inhibit future rust by filling into the pores of the metal. The hardware would have a black finish with a dull shine. This was cost effective, simple, effective and practical, a prefect fit for a Volkswagen.

In modern times, newer methods of giving metal a phosphoric coating were developed (cold bluing) to accomplish the same thing without the use of boiling tubs of hazardous chemicals. Using a bluing solution and a hot oil bath was how I decided to move forward.


Saturday, March 7, 2020

Seam Sealer, New Parts and Some Reassembly


Well, apparently, its been nearly 7 months since my last update. Took a break from the VW to put a new metal roof on the shop,  the holidays came and I worked on some other projects. Finally getting back to work on her again.

After sealing and painting the pan, seam sealer was applied to all of the seams, joints and anywhere the metal overlapped where moisture might accumulate. Realized I should have done this before I painted the pan, aaahhh!!! Oh well, better late than never. Researching seam sealers, 3M was the best I could find that would bond specifically with the urethane based chassis coating that I used and was pretty indestructible.

I ordered some parts for the pan from Wolfsbürg West and have started putting the pan back together. Most of these were rubber seals and grommets. I also replaced the brake lines with new. 

The shift knob is pretty beat up and will need some love to bring it back.  On the hand brake, the top three teeth of the ratcheting gear were broken off, so I repaired them by welding new metal into place where the teeth once were and shaped them into the appropriate "tooth" shape with my Dremel. It turned out great, and it works again!


 Brass T fitting and bolt for rear brake lines cleaned, oiled and installed.

 Bowden Tube and boots in place.

 Gas Line Grommets Installed.

 Torsion Arm/Spring Plate Cover bolts cleaned, threads chased and oiled.

The original spring for the shifter was broken, so I welded it back together, it turned out good.

I was able to prep and paint the shifter and e-brake in the original Anthracite color, pretty cool. I also found some interesting stamps on the e-brake handle.


Monday, August 12, 2019

Nut and Bolt Restoration - Threads, Taps and Dies

The Objective

Many of the fasteners on the car are dirty, rusted, and corroded; for good reason, being nearly 56 years old. However, they are otherwise still in good shape, so restoring them as best I can is what I've set out to do.

To do it right, I knew I would have to clean out all of the threads on the car and wanted to be able to get everything that I would need in one set, or get as close as possible, without spending a ton of money. Having to purchase separate taps/dies/chasers in the future is not something that I wanted to do.


The Research

Worried about damaging threads, some said a thread chaser was the best thing to get, while many said that chasers were a waste of money. The chaser sets that I found did not have the sizes that I needed, and I felt like I was a lot less likely to use a chaser set again in the future over a tap and die set. Many on The Samba suggested a range of sets from the most expensive Snap-On sets to cheaper Harbor Freight quality sets. I could not find one consensus on what set was the best for what I was doing.


The Result

After a few days of research and a lot of frustration, I finally decided to spend the money and order a tap and die set that included the sizes that I needed and would fit my needs. Already having a small set with M4-M7, I decided on a set with the larger sizes that I did not have:


https://www.amazon.com/gp/product/B000I42FXI/ref=ppx_yo_dt_b_asin_title_o00_s00?ie=UTF8&psc=1

https://www.harborfreight.com/45-pc-titanium-nitride-coated-alloy-steel-metric-tap-die-set-61410.html

Useful Information/References

Socket size - Head width in mm.
M size - diameter of threads in mm

Reference for Metric socket sizes to M sizes:
https://en.wikipedia.org/wiki/ISO_metric_screw_thread

Monday, July 29, 2019

AG-111 - Painting and Touch-Ups


Over the weekend I coated the pan with AG-111. Recommended application was with a brush, but  decided to use my HVLP gun instead, and it worked great. The finish turned out a lot more glossy than I thought it would be, but I'm good with it. Applied a fog coat first (which I had to look up how to do), "spraying at a farther distance making quick paths to slowly cover to full color saturation". I let that tack up and then applied a second "double wet pass" coat. I let that dry for a day and then came back to fill in the seams, and hard-to-get-to areas with a brush afterward. Overall, the process was a lot easier than I thought. I'm pretty happy with the Master Series so far. We'll see how it performs once it's completely cured.


Friday, July 26, 2019

Mastercoat Sealer


Last weekend I sealed the pan with Mastercoat permanent rust sealer. I went this route after much consideration. I wanted to preserve the original soundproofing on the tunnel. Its in great condition and there is no reason to remove it. I considered powder coating to be the best option until I read about the possibilities of cracking and chipping over time, with no great options for repair. Secondly, the entire pan would need to be baked at 300-400 F, which would destroy the original soundproofing that I was trying to save. So I decided to go with Master Series Mastercoat. It's worked well so far. I applied the first coat with foam brushes, recommended by the manufacturer. It took me around two hours to coat the entire thing, so I decided to spray the second coat. The sealer seams to "expand" as it dries, filling in all areas around where I brushed.


Ready for paint, I decided to use AG111, more on that in the next post. Now I am debating whether or not to wait to paint it until I'm ready to paint the front end and axle tubes so that I can paint them all at once. Maybe I'm thinking too much into it.

Friday, July 12, 2019

More Sandblasting, Rust-Proofing and Final Cleanup


On the final leg of sandblasting, I removed the torsion bars and spring plates to get a thorough sandblast and rust-proof in-between. In order to do this, I made the pan level, knocked the spring plates out just enough to pop off of their stops and measured the angle with an angle finder so that I could reinstall them correctly. 16 degrees on both sides!


With these removed, I finished sandblasting the pan. I underestimated how much of a hassle sandblasting this pan myself would be. It took me around two months doing it myself in my free time.  If I were to do it again, I would just drop it off somewhere. Anyway, I ended up doing it in sections, making the realization that I couldn't do the whole thing at one time with the small sandblaster that I had. I carefully rust-proofed it as I went with phosphoric acid.

It's finally completed and rust free. there were several areas where some stubborn undercoating had to be removed by hand, but it wasn't too bad.


Final Cleanup Before Paint

Monday, May 6, 2019

Chassis Disassembly, Sandblasting and More Welding


Removed the front end beam and transmission from the rear end so that the pan could be sandblasted. It was pretty simple for the most part. Removing the transmission was the most challenging: disconnecting the emergency brake cables, spring plates and shift rod.


Slid it out and started blasting. 

Worse than expected.


The Undercoating...The sandblaster cannot penetrate the undercoating on the bottom of the pan, so I am worked on removing it with Gunk, various other degreasers and a needle scaler. It came off slowly, taking too much time. Paint stripper worked pretty well, enabling me to sandblast the rest. This process has also revealed some rust holes in the rear drivers side pan. Right now there are only a few small holes and hopefully not many more will show up. I will patched in a new floor section.

I ordered a new floor section for this area from CIP1, stripped the paint and traced out where it would go, cut it and clamped it into place.


Stitch welded in the new floor section, these butt welding clamps made it really easy.